Handmade invitations are the perfect way to show off your creative skills. They not only add a personal touch and look great, but are extremely simple to make and are lots cheaper than buying them in the shops. Here are a few top tips to help you get started.
What will I need?
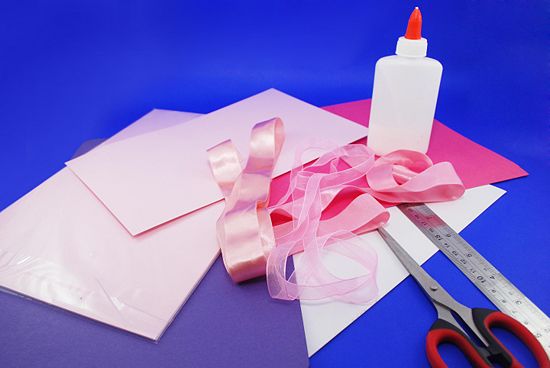
• A4 coloured card
• Glue
• Felt or card shapes, glitter, printed pictures and ribbon.
• Scissors
• Envelopes
• Pen
What do I do?
1. Select a coloured card that is suitable for the event, you may want to use pink or blue for a baby shower, but if it’s a Christmas party you are holding, red and green card would be perfect to add to the Christmassy feel, or orange and black for a spooky Halloween bash.
2. Fold the card in half and then fold again, then cut down the creases to form 4 squares.
3. Take the shapes, glitter, and printed pictures and stick to one side of the invite at your discretion.
4. Measure a piece of ribbon against the width of the invite and stick along the bottom.
5. Once the glue has dried, turn over the invite and write a message with the details of the event to inform the guests.
6. Repeat steps 1-5 for all your invitations.
Have you enjoyed this article? Join us on Facebook.
(Image: www.wikihow.com)